Even with her years of telepractice experience in the schools, SLP Helen Kennedy worried last spring when she was faced with serving her caseload of young, active students online, from their homes. As she scrambled to find fun new ways to gain her students’ attention, especially her youngest preschoolers, she stumbled upon virtual backgrounds and embarked on a creative journey for therapy materials that has continued this fall. Helen is a regular at our Hello social and professional events, and others have enjoyed her demonstrations and patient explanations. I interviewed Helen last week to learn more about how she uses virtual backgrounds in speech therapy.
Q: What exactly is a virtual background?
A: A virtual background is a way to use an image of your choice as your background in a video call. The image can be a location – think beach scene, forest, or outer space. Or it could be a texture like a brick wall or water. But you can also use an image of what you want to talk about – an animal, a series of items, or a visual for narrative structure! It works best if you have a green screen or a single color behind you, as your computer tries to replace everything that isn’t “you” with the image. (Zoom has good instructions here. This is a great instructional video.
Q: So, how did you get started?
A: I was already using Zoom and that’s pretty important. Zoom, as a platform, has been the best set up for virtual backgrounds, and they have continued to develop the feature. I set up my own green screen behind my therapy space by taping green construction paper to the wall, but I’ve since graduated to a wall of green felt because it’s a little more durable and I can stick things to it. I know some people have even started with a bright green tablecloth from the dollar store! Especially if your computer is a couple of years old, it just works much better with a solid color in the background.
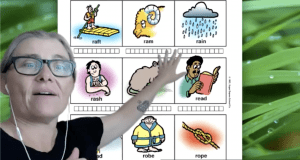
Once my therapy space was set up to use virtual backgrounds, I couldn’t stop! Every different image I used put me in a different location and gave me different materials for my sessions. I started using an image of a game board behind me to play a game, or an image of an articulation worksheet for targeted practice.
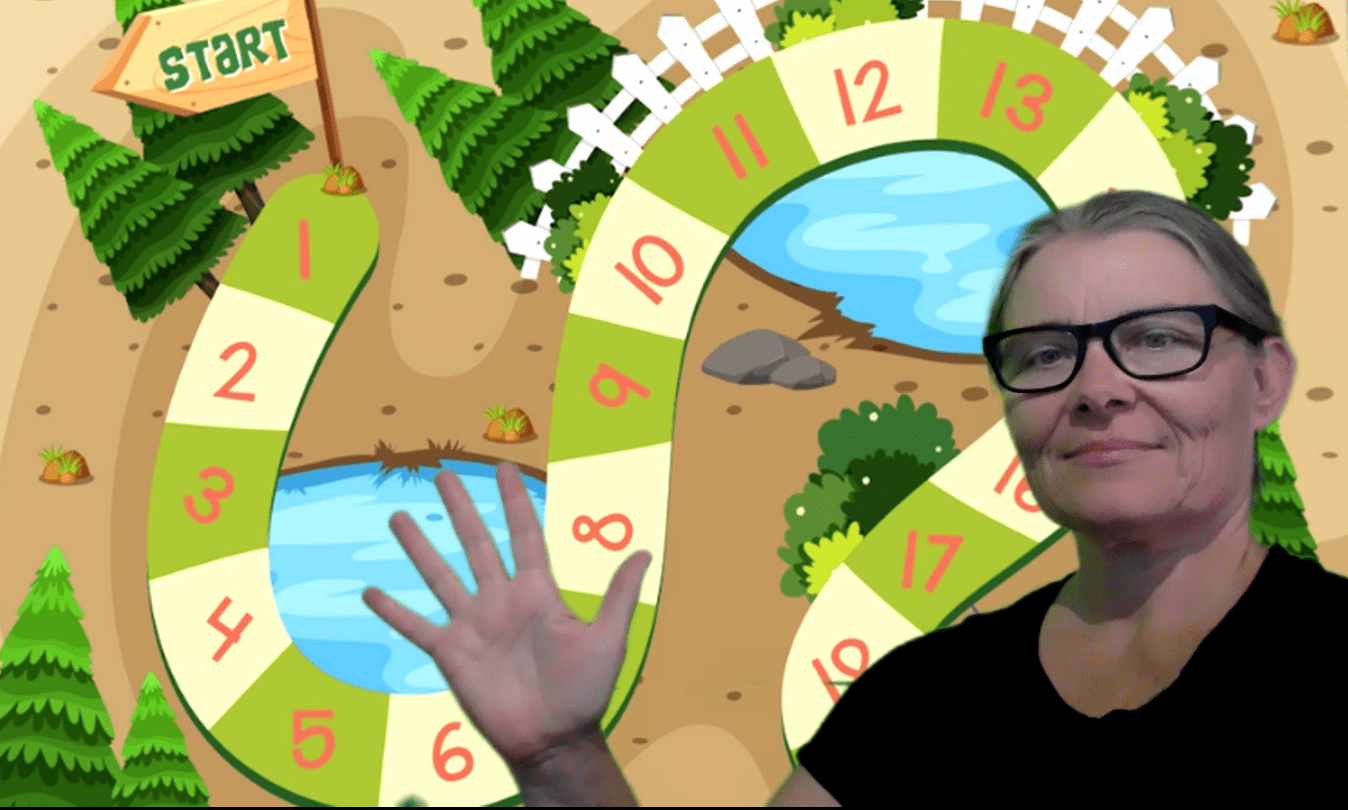
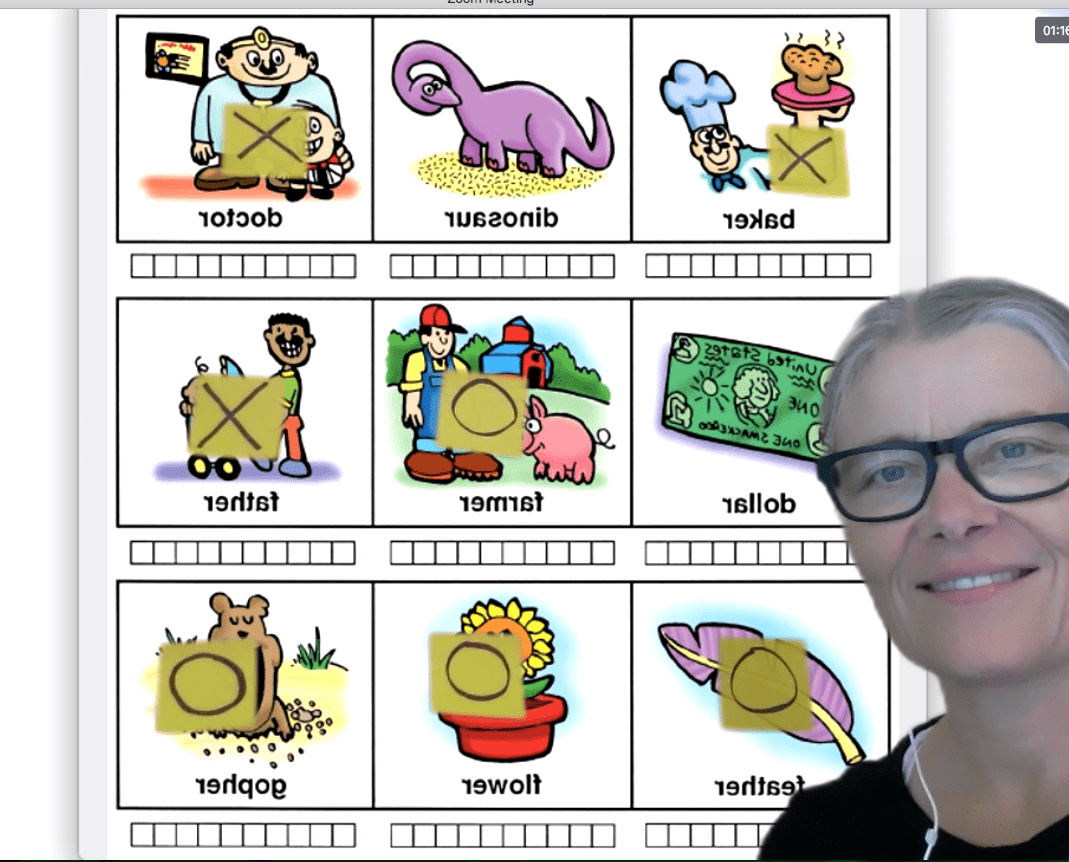
I found that there were lots of images to find online and download (Google “free zoom background”), but I could also create my own by dragging images into a PowerPoint to create the size and orientation I wanted, and then exporting the file as an image (PNG or JPEG).
Q: What are some of your favorite activities using virtual backgrounds?
A: My students love “feeding” objects to a shark or a monkey, or “dropping” objects into a bag, or “pulling” objects out of a box.
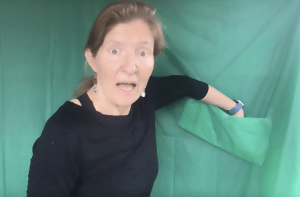 With no virtual background turned on, this is what it look like.
 Turn on the virtual background, and I’ve got my hand in a shark’s mouth!
 And I’ve pulled out a target word!
I also love using simple room scenes (like with a table, shelves, window) for practicing prepositions. We can move objects all over the “room.”
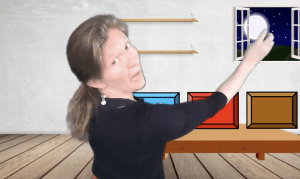 Toss it out the window!
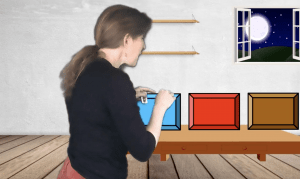 What’s in this box?
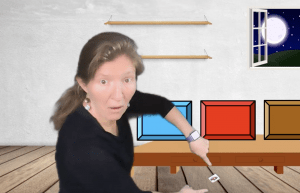 Look what I see under the table!
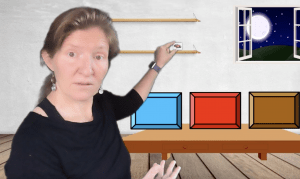 Where should we put it? On this shelf?
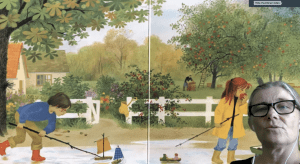
There are a couple of different ways I use series of images (usually from a PowerPoint): I can upload them to zoom as a whole bunch of different virtual backgrounds and flip through them with the arrow keys. This works well with digital articulation materials (like the CDs that were included in books I’ve purchased). I can pause on an image that we want to talk about and then flip through the next ones as quickly as I want. The changing pace really keeps the attention of my students. (You can see how this works in the video below.)
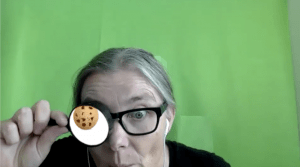
I love the magnifying glass activity, where I choose the solid color of my magnifying glass as the virtual background color, and kids can magically “find” treasures by using the magnifying glass to search. The magnifying glass works like a mini green screen!
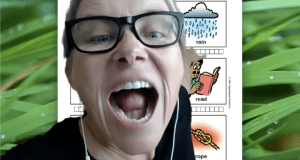
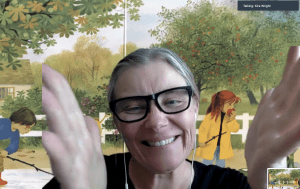
One of the huge advantages a virtual background has over sharing my screen is that I can stay “big” in the image. I can come in close to the camera to show my mouth or my facial expressions or to shift the focus to what I am saying, and then I can back up to talk about the pictures again.
Q: Any final tips for SLPs looking to try this out?
A: Sure. Pick the right color for your background – the greener, the brighter and “lime”-ier, the better! And then choose neutral clothes to reduce your chances of blending in.
Pay attention to the size of the image you need for your background. Search for “zoom backgrounds” or use an image editing software or slides (like PowerPoint, Keynote, Canva, or Google Slides) to crop your images to the right dimensions.
Once you start looking for ideas and materials to use virtual backgrounds in your speech therapy, you’ll be surprised by all you find! Check out this green screen Facebook group for SLPs, search YouTube for instructional videos on virtual backgrounds for speech therapy, and search terms like green screen on TeachersPayTeachers to see the more complex projects your colleagues are sharing! Having a green screen has changed teletherapy for me.

